Do you need to enable a colleague to manage one of your locations in Listing Management?
The “Share Locations” feature gives you several options to grant other users access to a location you own, or manage other users’ current access, by assigning them a role.
What Are the Different Types of Users in Listing Management?
In Listing Management, users can have one of four different roles, each with unique limitations:
- Account owner: The primary Semrush account owner for your organization or team, if you’re using a corporate account. Corporate owners can buy and distribute limits, create and manage locations as a location owner, and view all locations created by their sub-users.
- Location owner: Typically the person who created the location. This user has full access to all supported features in the tool, including the ability to edit and share locations, add new locations, upgrade the location type, and connect Facebook and Google Business Profile accounts.
- Editor: This user can view and edit listings. They cannot change the name, address, or phone number of a business location, purchase a new premium limit, upgrade, share, or delete a location.
- Viewer: This user can view listings. However, they cannot edit listings, upgrade, share, or delete a location.
Please note: To gain access to full editor functionality, you’ll need to be associated with a paid Semrush subscription, either individually or by being added to a corporate account.
If you’re a user who was granted editor access to a location and does not yet have a paid subscription, you’ll see the following message when you view it:

When you see this message, you have two options:
- Request collaboration: ask the account owner to add you as a sub-user for their corporate account
- See plans and pricing: Compare paid Sermush plans and purchase an individual account
If you’re the account owner, you may proactively invite users to join your account by visiting your User Management page.
How To Share Locations
To share multiple locations, first open the Listing Management tool and open the Locations tab. Here, you’ll find your list of locations, along with basic information about each one.
To share one or more of these locations, click the “Share” button in the top right corner.
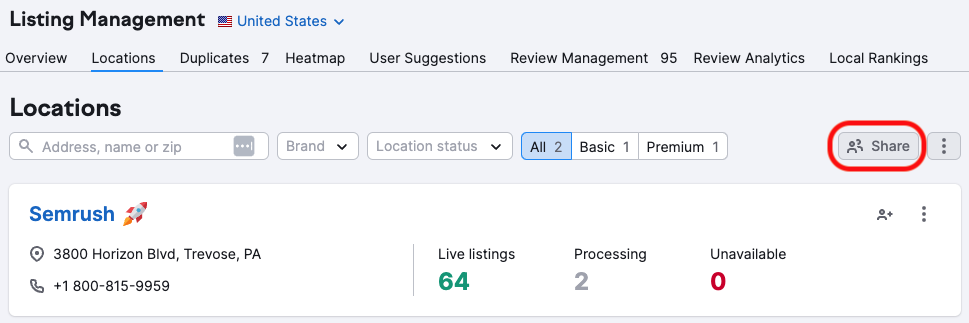
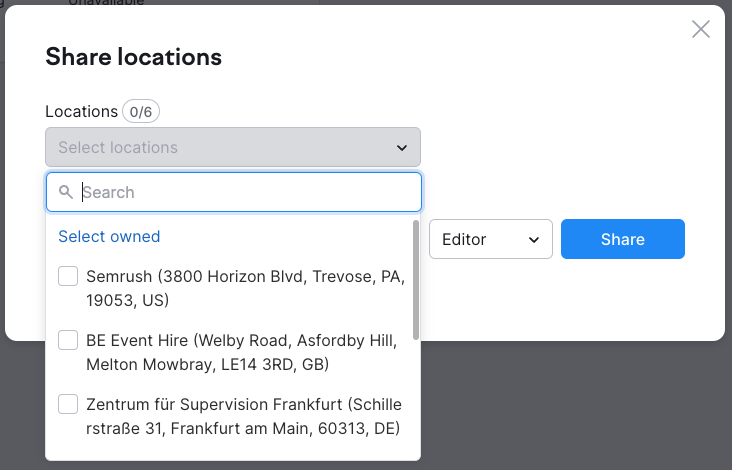
This will open the Share Locations window.

Next, use the drop-down to select the locations you want to share. This list will only include locations that you own. If you were granted editor or viewer access to a location, you will not be able to select it.
Please note, if you want to share different locations with different people, you will need to repeat this step to share each location or group of locations separately.
Next, enter the email addresses of each individual you want to share your selected locations with and use the drop-down to the right to assign their role.
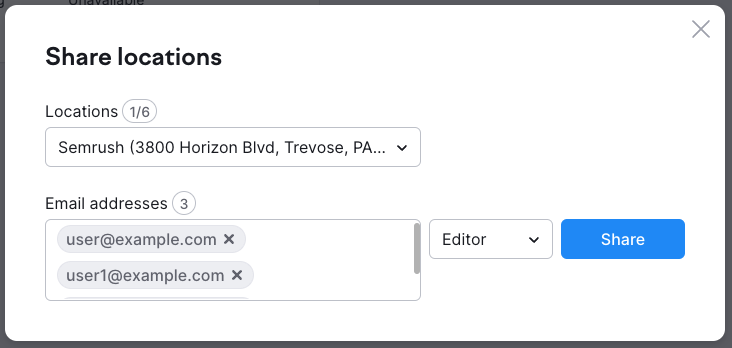
This drop-down assigns the same role to all the email addresses that you entered. As such, if you need to assign different roles, you’ll need to repeat this process and share separately.
Once you’re ready, click the “share” button to complete the sharing process.
Accessing Shared Locations
If someone invites you to view or edit their location in Listing Management, you’ll receive an email invitation:

If you were invited to view the location, all you need to do is click “Open in Semrush” and create or log into your account to view it.
If you were granted editor access, you’ll need a Semrush subscription in order to use these features. Learn more about Semrush plans on our pricing page.
Going forward, all locations you have access to will appear in the Locations tab. However, you’ll only be able to share the locations you own.
Managing User Access & Permissions
You can manage user access to your locations by using the Share Locations window.
As with the location-sharing process described above, first, visit the Locations tab, then click Share at the top right corner.
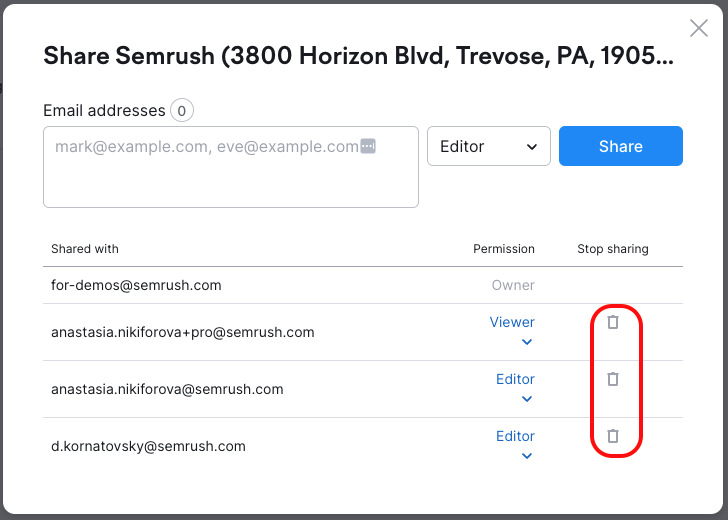
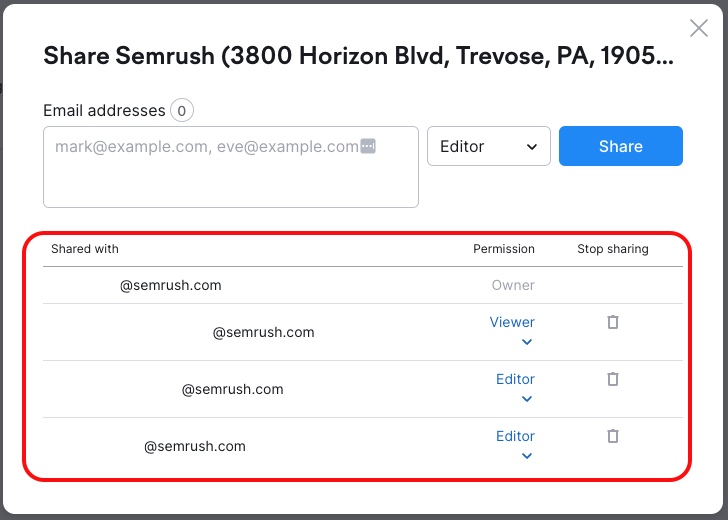
At the bottom of the Share Locations window, you’ll see a list of everyone you have already granted access, indicated by email address, along with the permissions you assigned them.
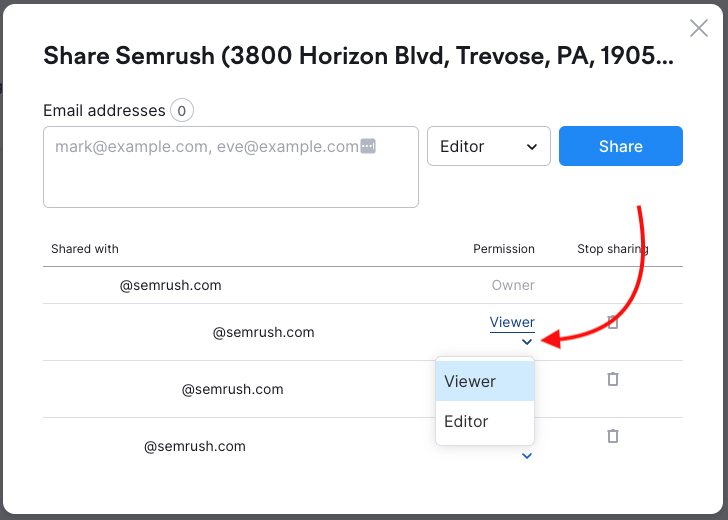
To change a user’s permissions, simply click on their role in the Permissions column. This will open a drop-down menu, where you can select a new user role to update their level of access.
To revoke access from a user, click the trash bin icon under the “Stop sharing” column.